Loading... # Arch in WSL2 ## 0x01 准备 ### 1.1 安装 Windows Terminal 进入 Windows Store, 搜索 Windows Terminal 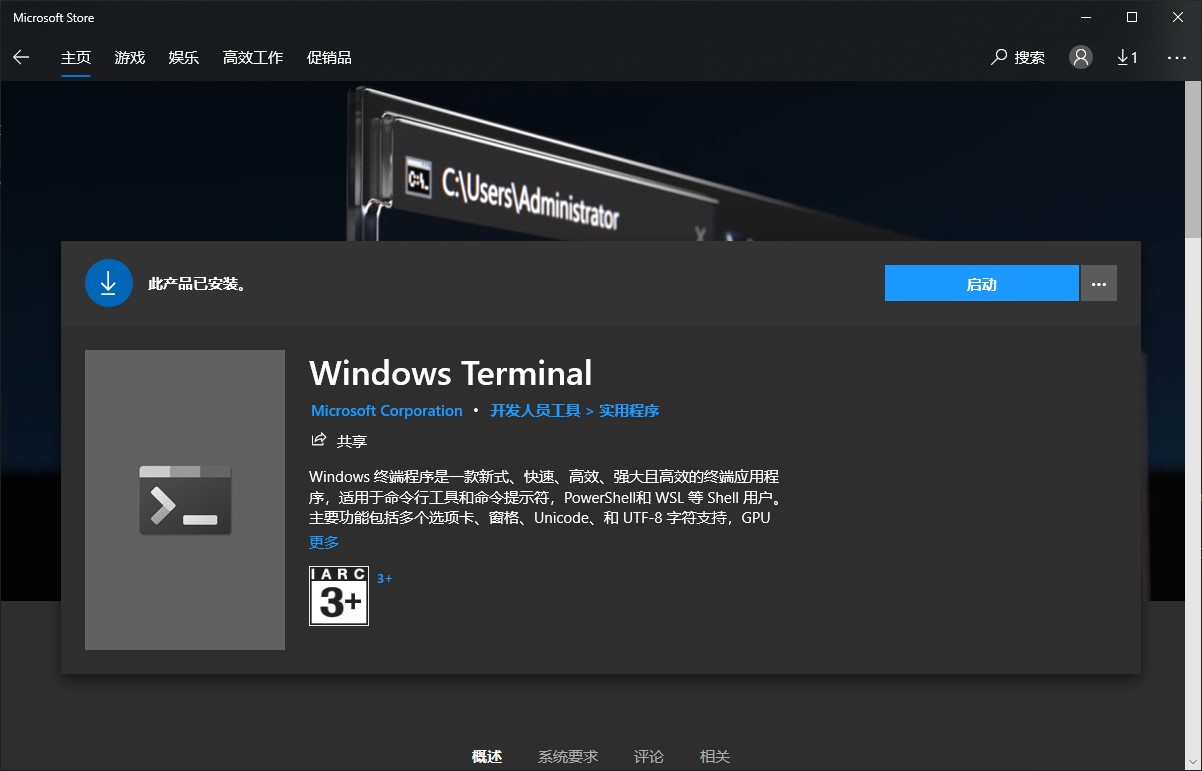 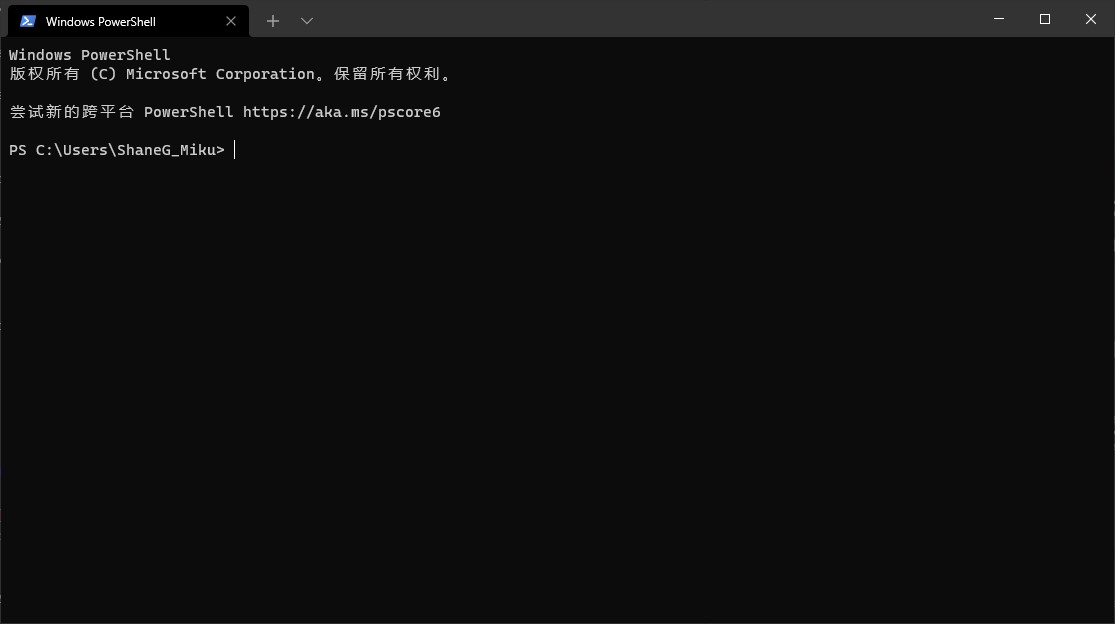 ## 0x02 安装WSL > Ref: https://docs.microsoft.com/en-us/windows/wsl/install-win10 ### 2.1 启用 WSL2 以管理员身份开启 PowerShell, 输入命令打开 linux 子系统 (WSL): ```PowerShell # Enable the Windows Subsystem for Linux dism.exe /online /enable-feature /featurename:Microsoft-Windows-Subsystem-Linux /all /norestart # Enable Virtual Machine feature dism.exe /online /enable-feature /featurename:VirtualMachinePlatform /all /norestart ``` ### 2.2 下载安装 Linux 内核 1. 下载最新的包: [WSL2 Linux kernel update package for x64 machines](https://wslstorestorage.blob.core.windows.net/wslblob/wsl_update_x64.msi) 2. 打开并安装 ### 2.3 设置 WSL2 为默认版本 ```PowerShell # Set WSL 2 as your default version wsl --set-default-version 2 ``` ## 0x03 安装 Arch 发行版 > Ref: https://github.com/yuk7/ArchWSL ### 3.1 下载 ArchWSL Release - Releases: https://github.com/yuk7/ArchWSL/releases 下载 ``Arch.zip``, 解压至任意目录, 确保 ``rootfs.tar.gz`` 与 exe 可执行文件在同一目录下. Note: - exe 可执行文件可更改为任意名字, 该文件名即为wsl内该发行版的名称, 接下来以 ``Arch.exe`` 为例. - 运行 exe 可执行文件时的目录即为之后子系统存储目录. 例如在 ``G:\Arch`` 下安装, 则Arch之后所有的内容都会存储在 ``G:\Arch\ext4.vhdx`` 这个硬盘映像文件下. ### 3.2 安装 Arch WSL 双击打开 ``Arch.exe``, 等待安装成功即可. 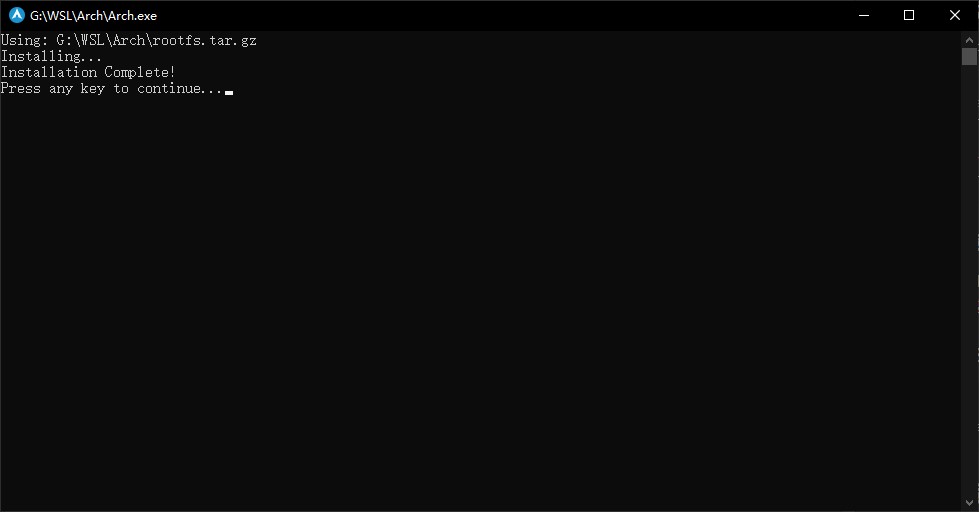 ### 3.3 打开 Arch WSL 终端 有两种方法可以打开 Arch WSL 终端: 1. 直接点击 ``Arch.exe``; 2. 通过 Windows Terminal 打开. 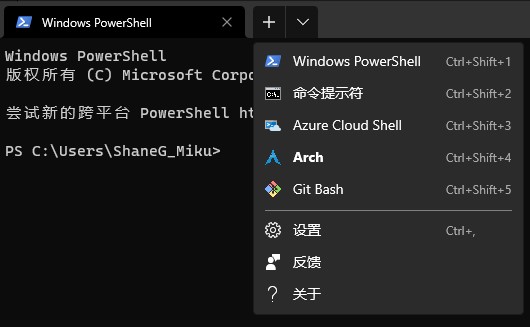 ## 0x04 配置 Arch ### 4.1 设置密码并新建账户 系统的默认账户为 `root`, 推荐新建账户使用. ```bash # Set root password (type two times) $ passwd # Create new user and set password(example: create a new user named miku) $ useradd -m -G wheel miku $ passwd miku # Insert group 'wheel' to sudo $ EDITOR=vim visudo ``` 搜索 `wheel` (Normal Mode 下输入 `/wheel`), 删除 `#` 以启用, 保存退出 (Normal Mode 下输入 `:wq`). ``` ## Uncomment to allow members of group wheel to execute any command %wheel ALL=(ALL) ALL ## Same thing without a password %wheel ALL=(ALL) NOPASSWD: ALL ``` ### 4.2 更换镜像源 (Optional) ```bash $ vim /etc/pacman.d/mirrorlist ``` 搜索 `China` (Normal Mode 下输入 `/China`), 删除 `#` 以启用源, 保存退出 (Normal Mode 下输入 `:wq`).  ### 4.3 更新源 #### 初始化 keyring 如果因为网络问题报错, 就多试几次. ```bash $ pacman-key --init $ pacman-key --populate $ pacman -Syu # May press 'y' to continue installation. ``` #### Enable multilib multilib 库包含 64 位系统中需要的 32 位软件和库. ```bash $ vim /etc/pacman.conf ``` 搜索 `multilib` (Normal Mode 下输入 `/multilib`), 删除以下几行的 `#` 以启用, 保存退出 (Normal Mode 下输入 `:wq`). ``` [multilib] Include = /etc/pacman.d/mirrorlist ``` #### 添加 Archlinuxcn 源 (Optional) 在 ``/etc/pacman.conf`` 末尾追加以下几行 ``` [archlinuxcn] Server = https://mirrors.tuna.tsinghua.edu.cn/archlinuxcn/$arch ``` 更新源 ```bash $ pacman -Syy $ pacman -S archlinuxcn-keyring ```  ### 4.4 设置 WSL 默认登录用户和默认 WSL 发行版 在 powershell 中进入到 Arch.exe 所在文件夹, 运行命令: ```PowerShell # Set default user .\Arch.exe config --default-user miku # Set default wsl wsl -s Arch ``` 进入 Windows Terminal 设置页面, 在`配置文件`栏目下点击Arch, 将启动目录设置为 ``\\wsl$\Arch\home\miku``, 保存.  ### 4.4 禁用 Windows Path 与 Windows 公用Path会导致环境错误. 我们需要手动禁用. ```bash # Arch bash $ cat > /etc/wsl.conf [interop] appendWindowsPath=false ``` ```PowerShell # Restart WSL in PowerShell wsl --shutdown wsl ``` ### 4.5 限制WSL 2内存使用 通常wsl不进行限制会占用近7-8个G的内存资源, 我们可以手动进行限制. 在windows目录 `C:\Users\{Username}\.wslconfig` 文件进行编辑(新建): ``` [wsl2] memory=4GB swap=0 localhostForwarding=true ``` ## 0x05 安装常用应用 > 以下命令皆在用户(`miku`)状态下输入 > > 出现``:: fakeroot is in IgnorePkg/IgnoreGroup. Install anyway? [Y/n]``, 选n即可. ### yay ```bash $ sudo pacman -S base-devel yay $ yay --aururl "https://aur.tuna.tsinghua.edu.cn" --save ``` ### Zsh && Oh-my-zsh ```bash $ sudo pacman -S zsh $ yay -S antigen ``` 编辑 ``~/.zshrc``, 新建或追加以下内容: ```bash source /usr/share/zsh/share/antigen.zsh antigen use oh-my-zsh antigen bundle zsh-users/zsh-syntax-highlighting antigen bundle zsh-users/zsh-autosuggestions antigen bundle zsh-users/zsh-completions antigen theme romkatv/powerlevel10k antigen apply ``` 重新进入终端或者输入 ``zsh``, 进行主题等配置. Enjoy :blush: 最后修改:2021 年 12 月 07 日 © 允许规范转载 赞 0 如果觉得我的文章对你有用,请随意赞赏